Assembly
The following steps assume you have gone through the prep page.
For pre-assembled frames go directly to lens cutting and lens fitting.
Hinge inserts
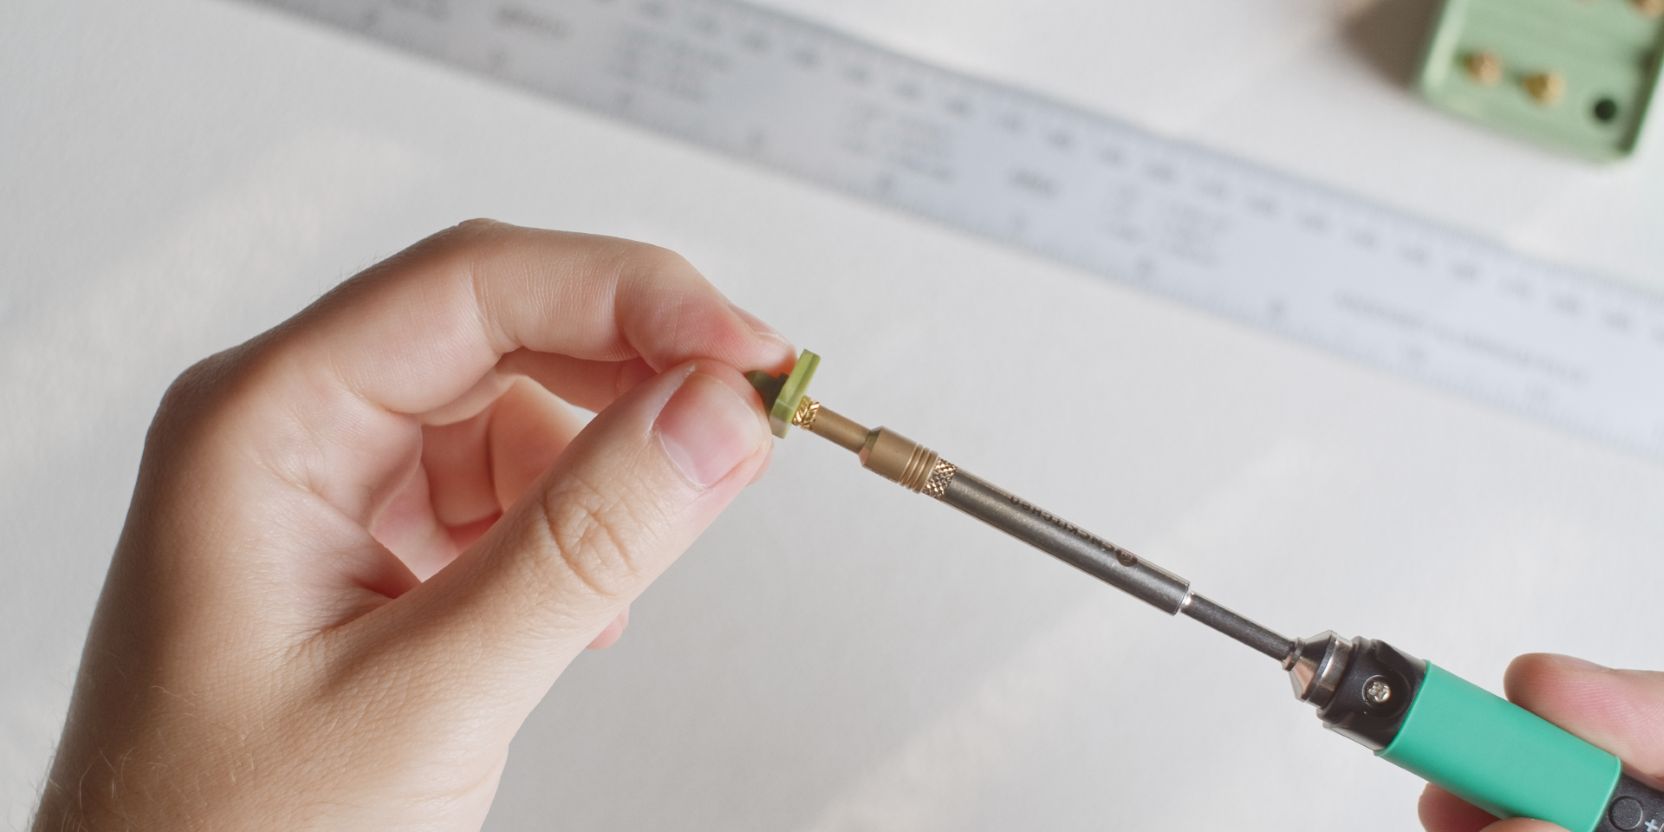
Place the threaded heat set insert over the hole of the Hinge and apply pressure with the tip of the soldering iron (or special insert tips, if you have them).
The temperature setting of the soldering iron depends on the material of your 3D prints. For ASA (or ABS) prints I use 250°C, for PLA, I recommend starting with 200°C instead.
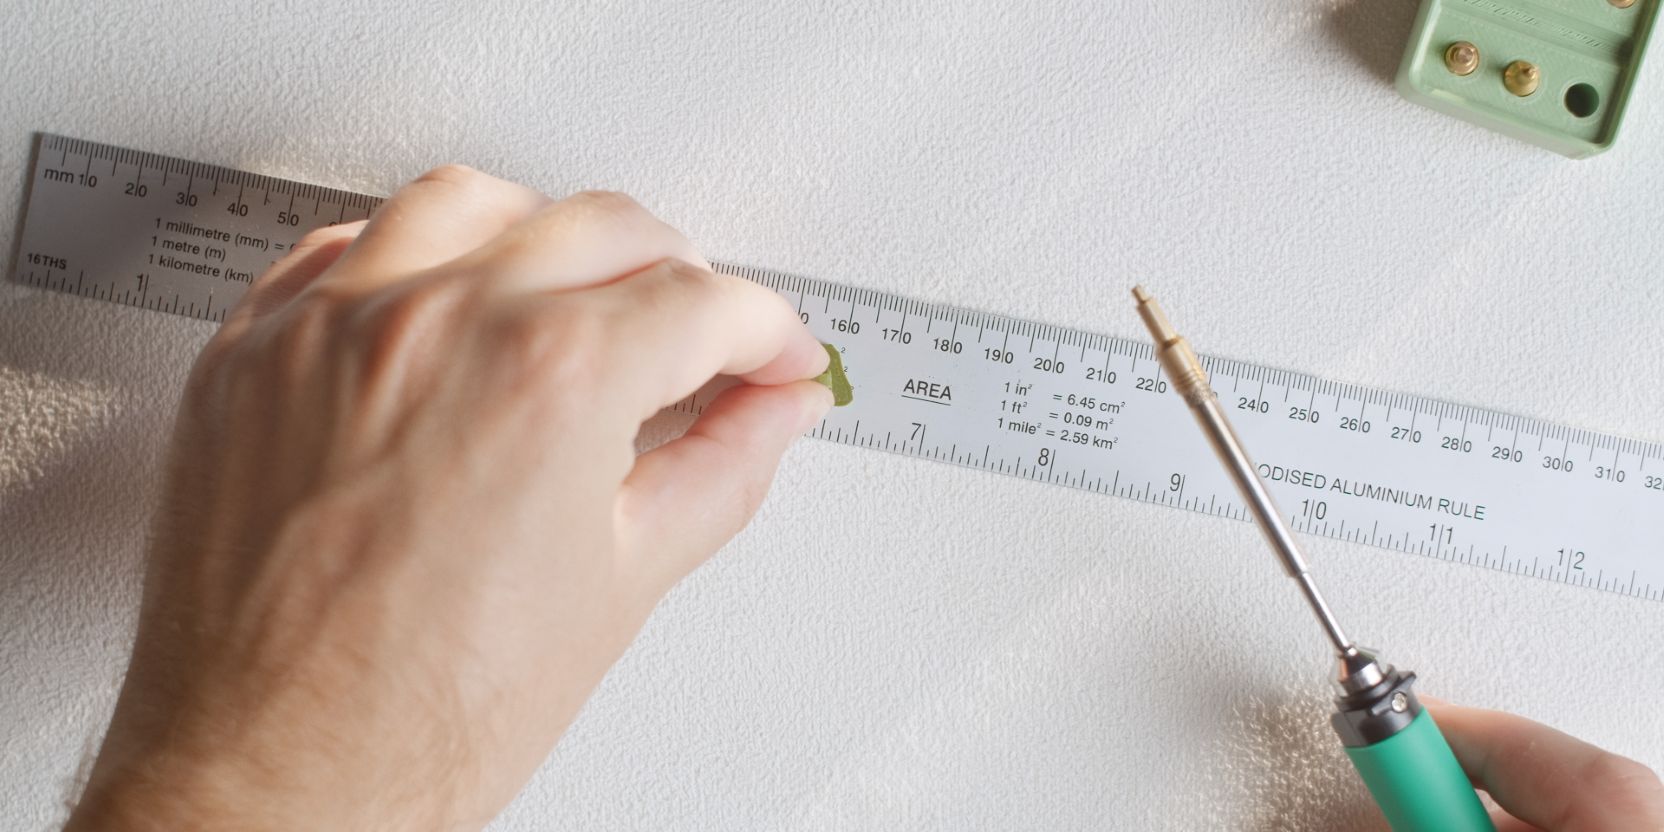
Insert until almost flush, then place the Hinge facing down on a flat metal surface (such as a ruler) and apply firm pressure for a few seconds. This flattens and aligns the insert.
Repeat for the other Hinge.
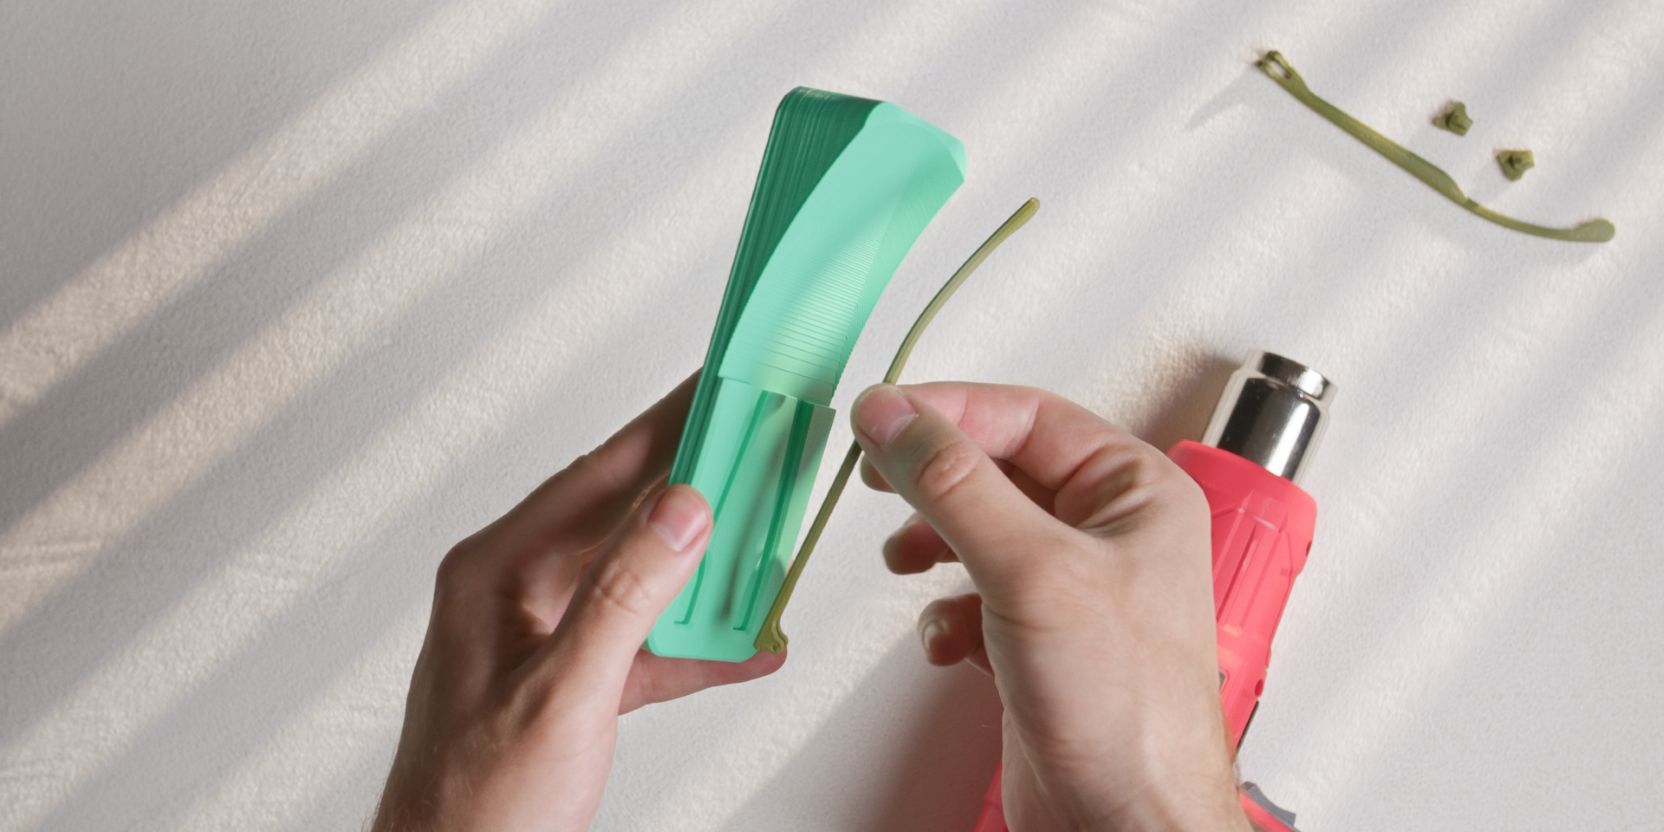
Temple arms
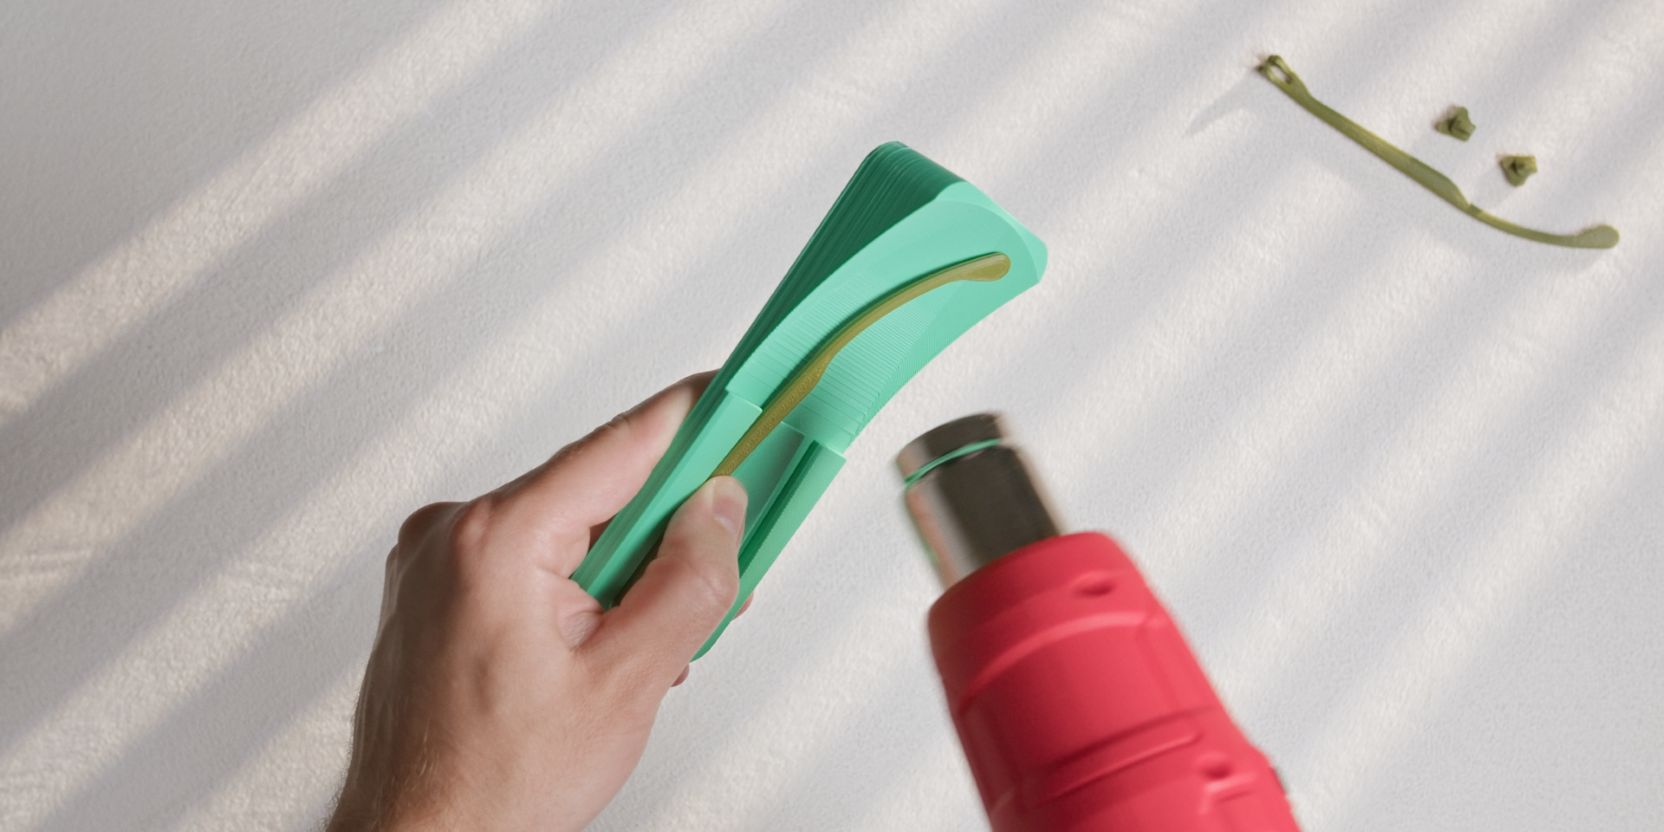
Place one of the Temple prints inside the Temple_Bend_Jig.
Hold it down with your thumb as shown in the image above.
Use a hair dryer set to the heat mode and heat up the portion of the arm that bends upwards.
Stop applying heat as soon as you see the part starting to “relax” into shape.
Let it cool off then re-apply heat a few seconds at a time if needed.
The Temples are properly shaped once they sit freely inside the jig cutout.
Less is more when it comes to heat-shaping and a small amount of leftover “springiness” is normal.
Temple hinge
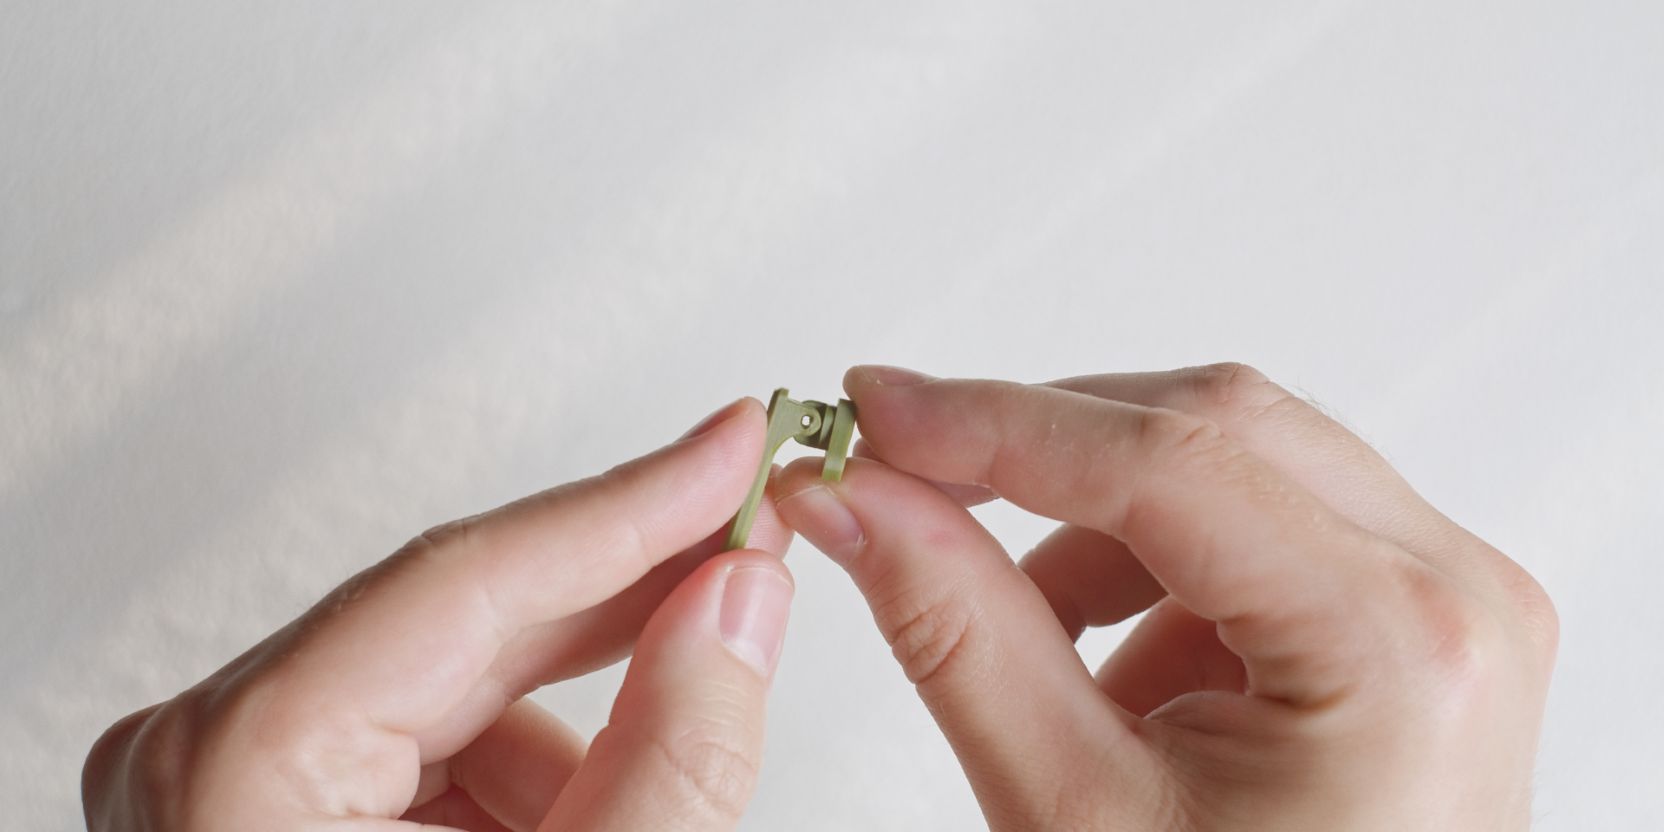
Align the holes of the Hinge and Temple arm as shown.
Frame.
Place a dowel pin inside the holes, starting from either side of the hinge.
Use a flat metal tool to press the pin inside the barrel hinge until it is fully inserted.
Repeat for the other Hinge and Temple arm assembly.
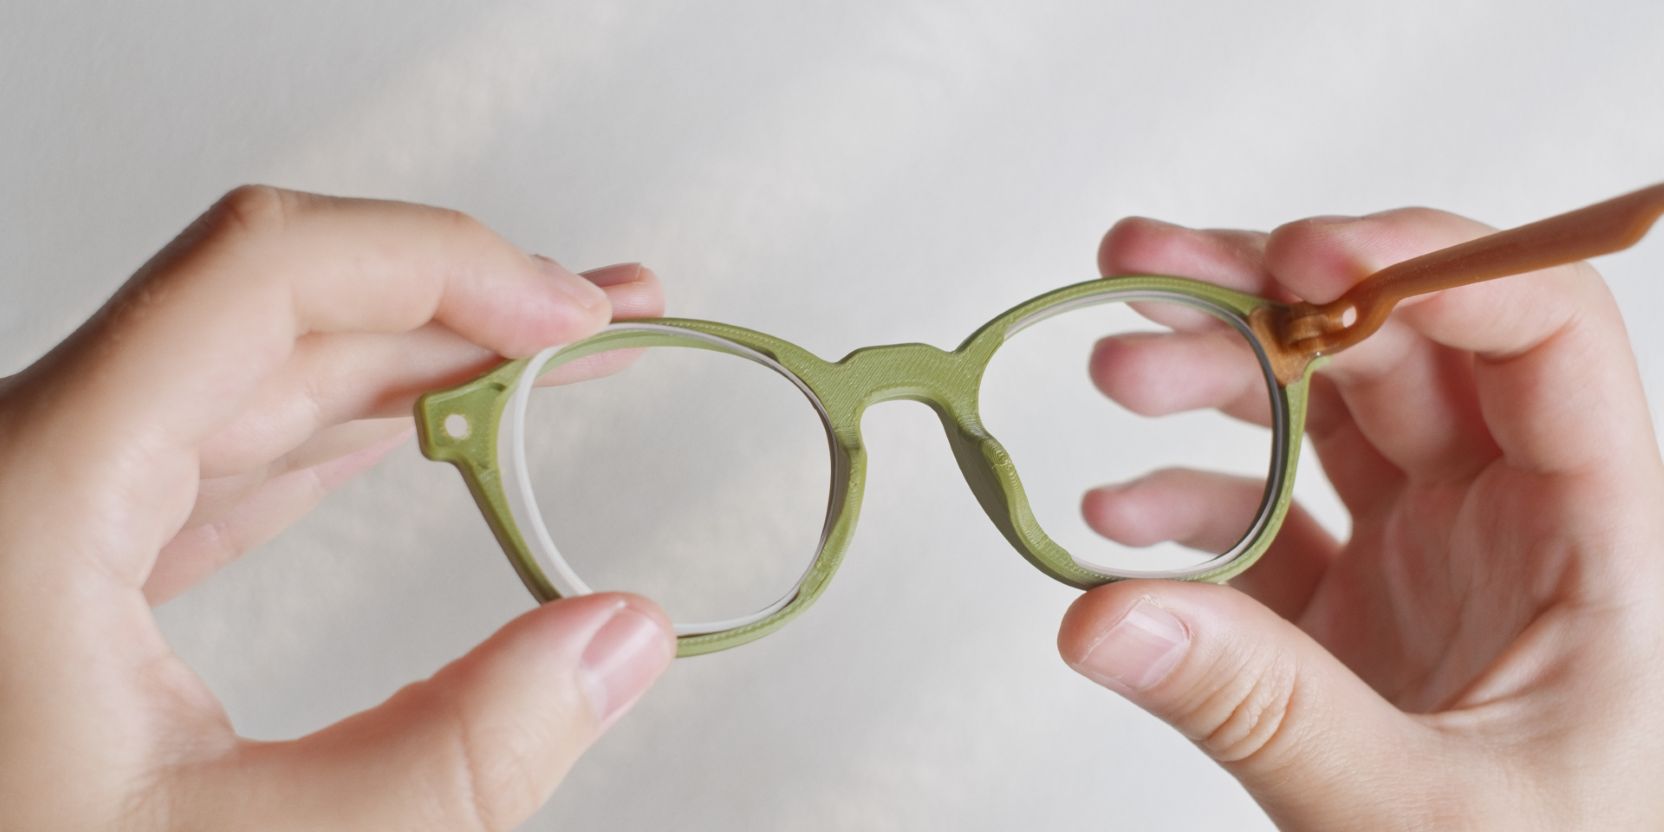
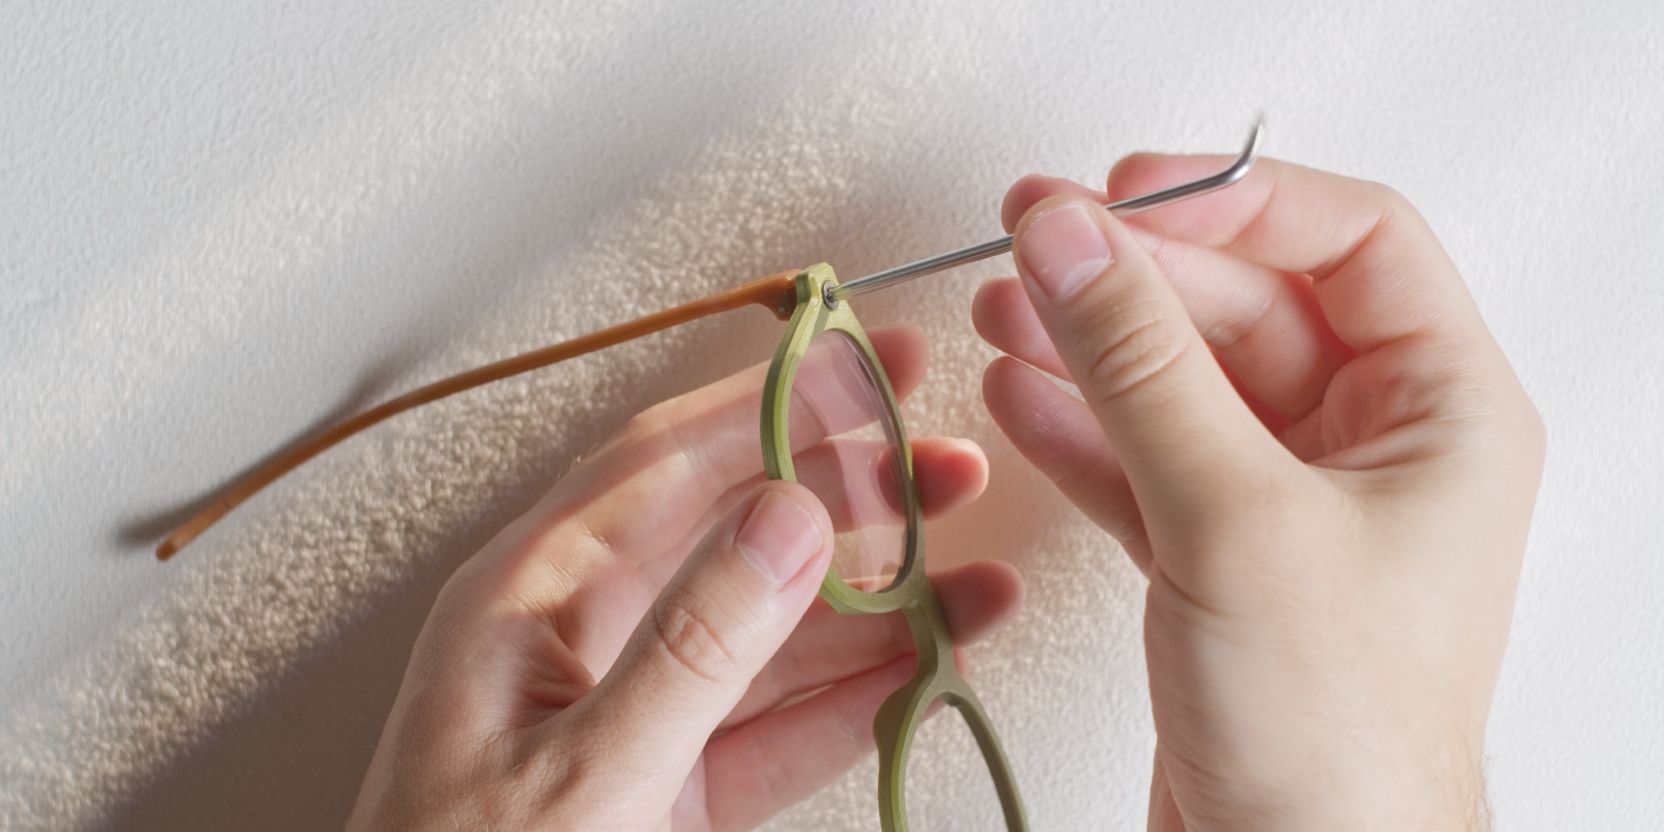
Lens fitting
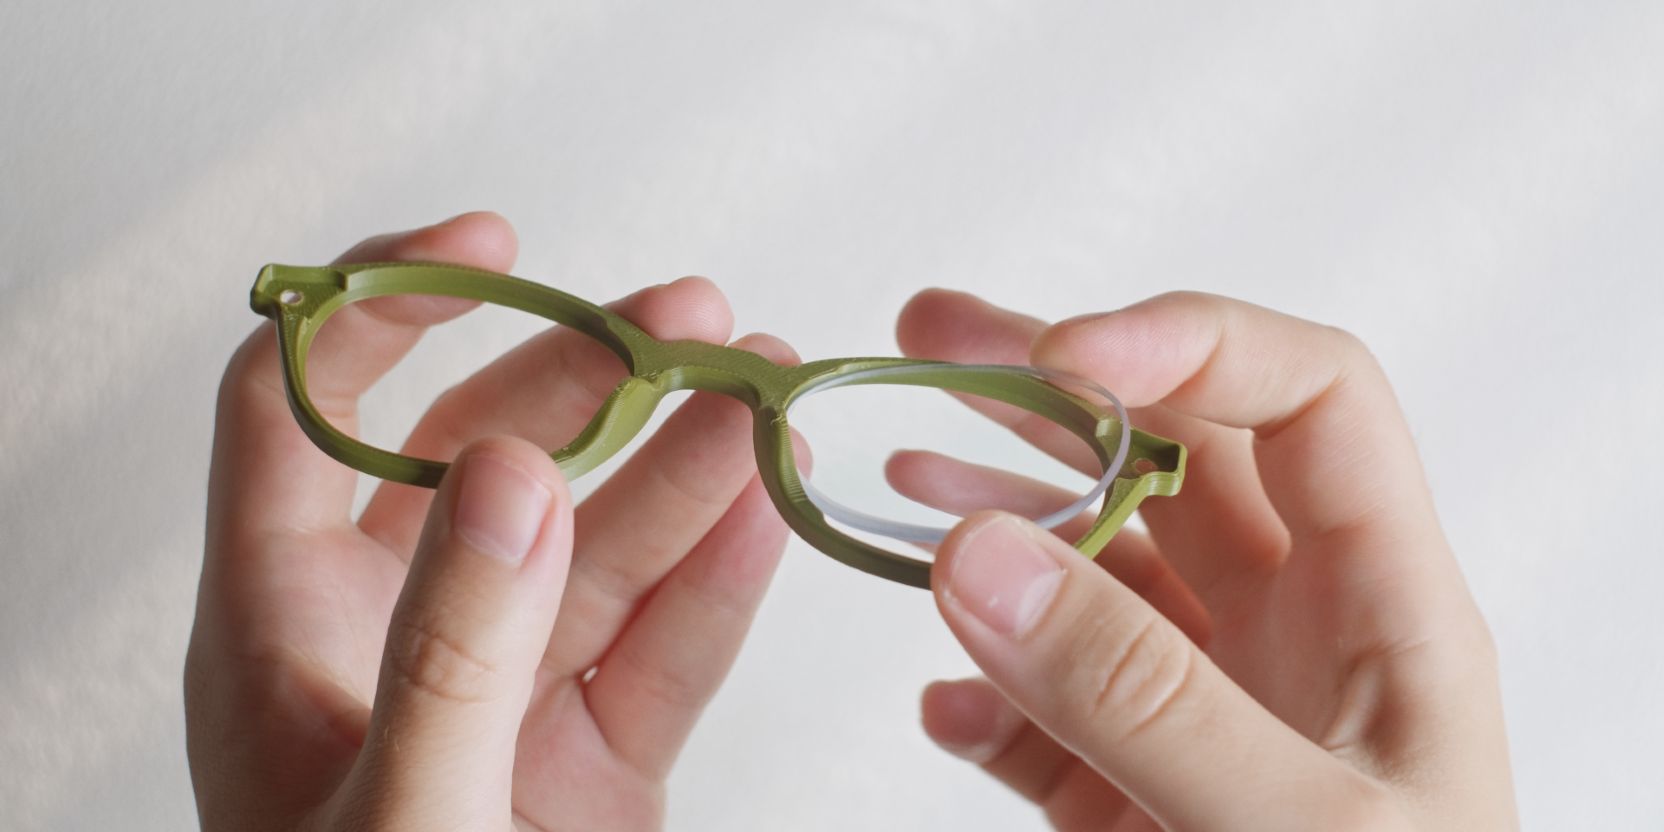
Insert the lens at an angle so that it rests inside the inner groove of the Frame.
Be mindful of the fact that without the Hinge plate the lens may easily fall out.
Depending on the tolerances of the 3D print the lens may need to be gently pushed inside the frame on the opposite end near the Hinge cutout. Use your finger to push down on the edge of the lens.
If your prescription lenses do not fit easily, refer to to the fit adjustments part of the documentation.

Insert the corresponding Hinge and Temple arm assembly.
The Hinge should snap fit inside the Frame cutout.
Insert one of the countersunk M3 screws inside the frame and secure the Hinge and Temple arm assembly.
Repeat the steps above for the other lens.
Alignment
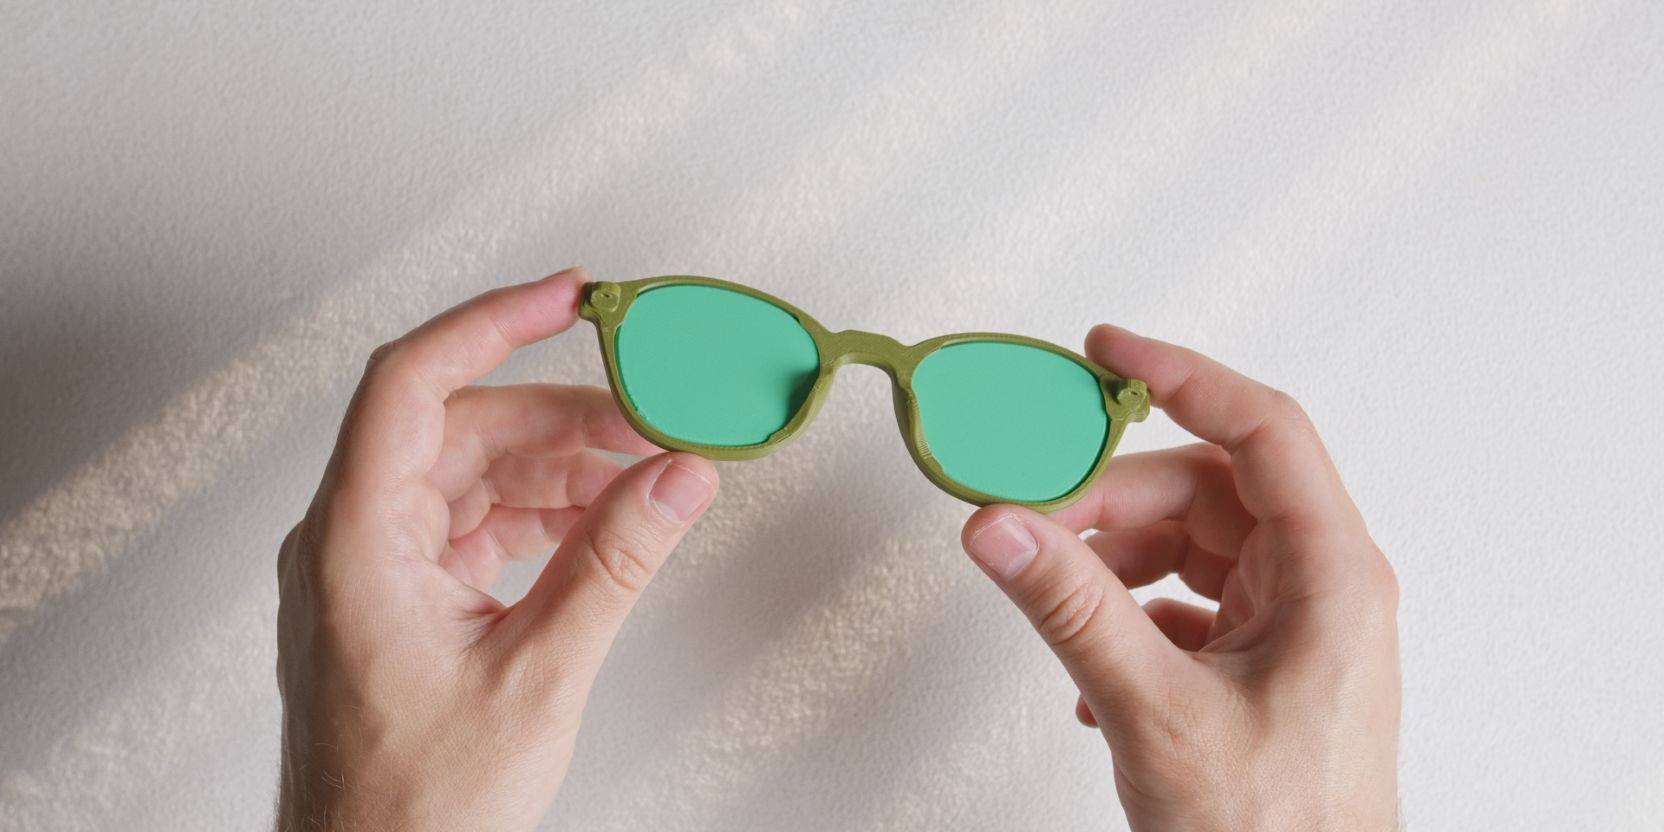
As a final check, place the assembled frames on a flat surface with the temple arms in the open position.
The ends of both temple arms should rest on the surface.
To adjust, gently pull on the arms to align them, there’s some amount of give in the Hinge plates.
That’s it! You can now wear your assembled Hitomi frames 🎉
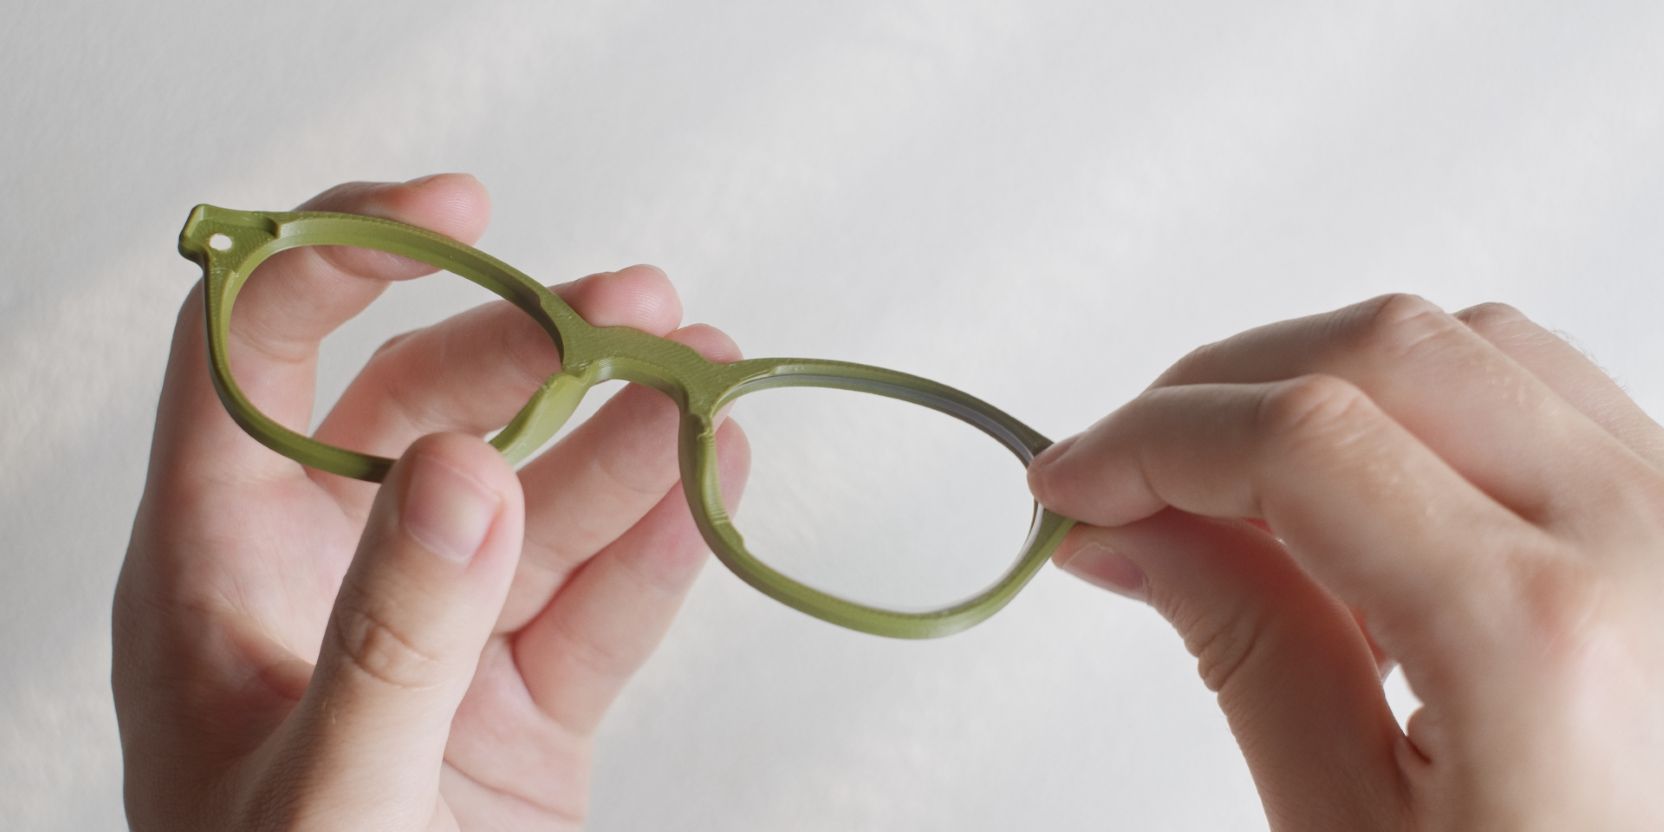
Lens removal

The steps for lens removal are identical to lens fitting but in reverse.
A clean (smudge-free) way to get either lens out from the Frame is to insert your index finger in the Hinge cutout and lift up by the lens edge.
Once partially lifted, grab the lens near the opposite edge with your thumb.
Frame shaping
The following step is optional. It adds a slight curvature to your Frame which may improve comfort and fit.
Before heat-shaping you must fit printed demo-lenses in the Frame.
Secure the lenses as you would normally, by fitting the Hinges and securing them with M3 screws.
This is done in order to avoid deforming the contour of the Frame.
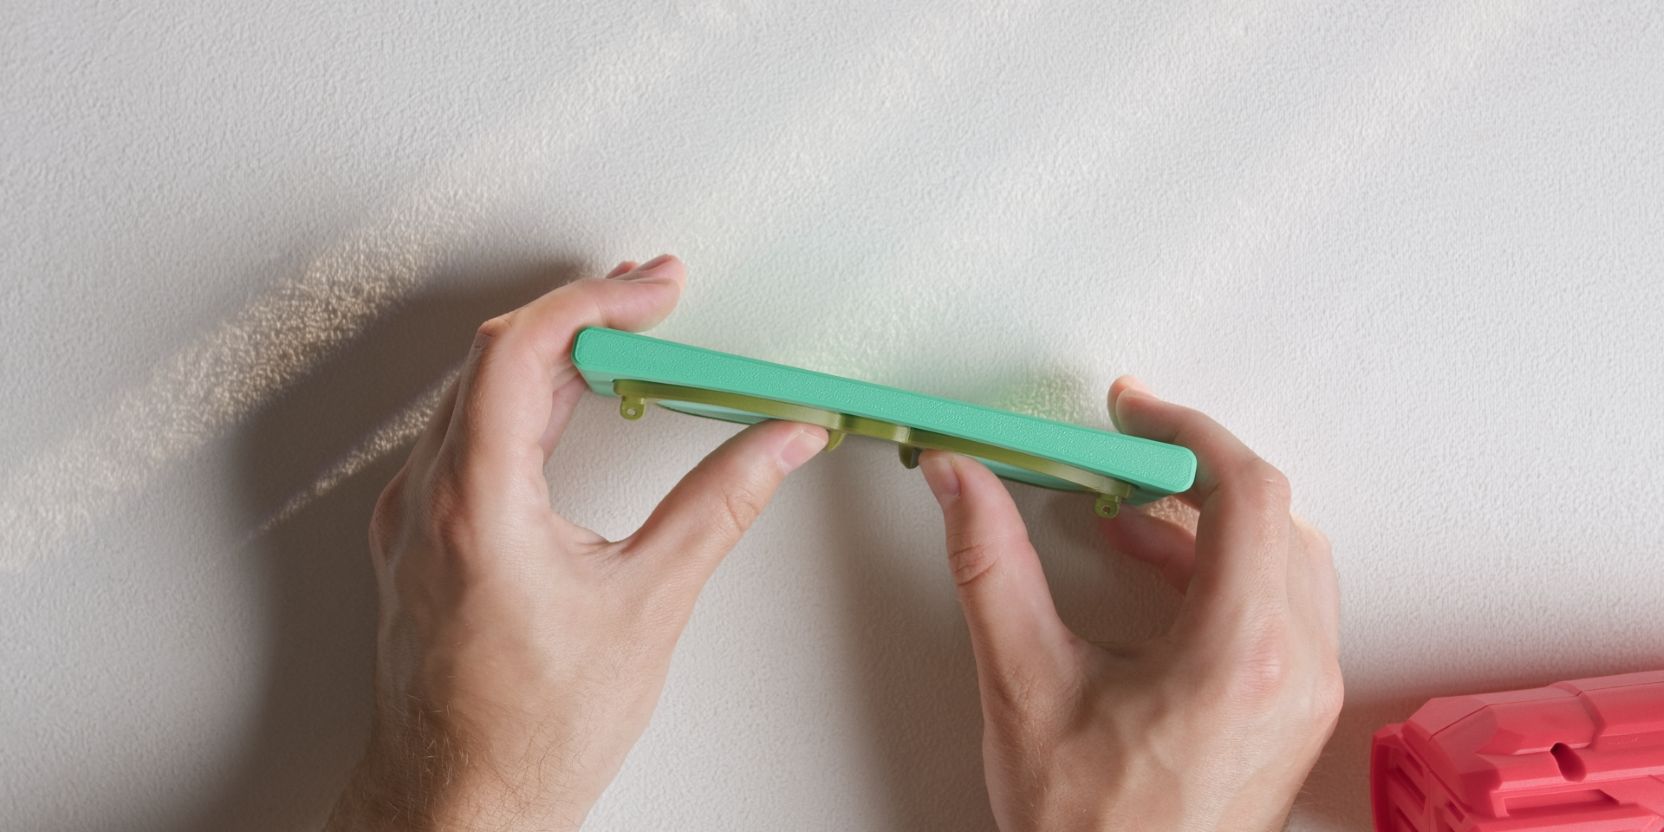
Place the Frame over the concave cutout of the Frame_Bend_Jig.
Only heat it up for a few seconds at a time (focusing roughly on the nose bridge area) until the Frame starts to “relax” and take the shape of the printed jig.
Hold the frame against the jig as you apply heat, pressing your thumbs against the printed demo lenses.
Pin removal
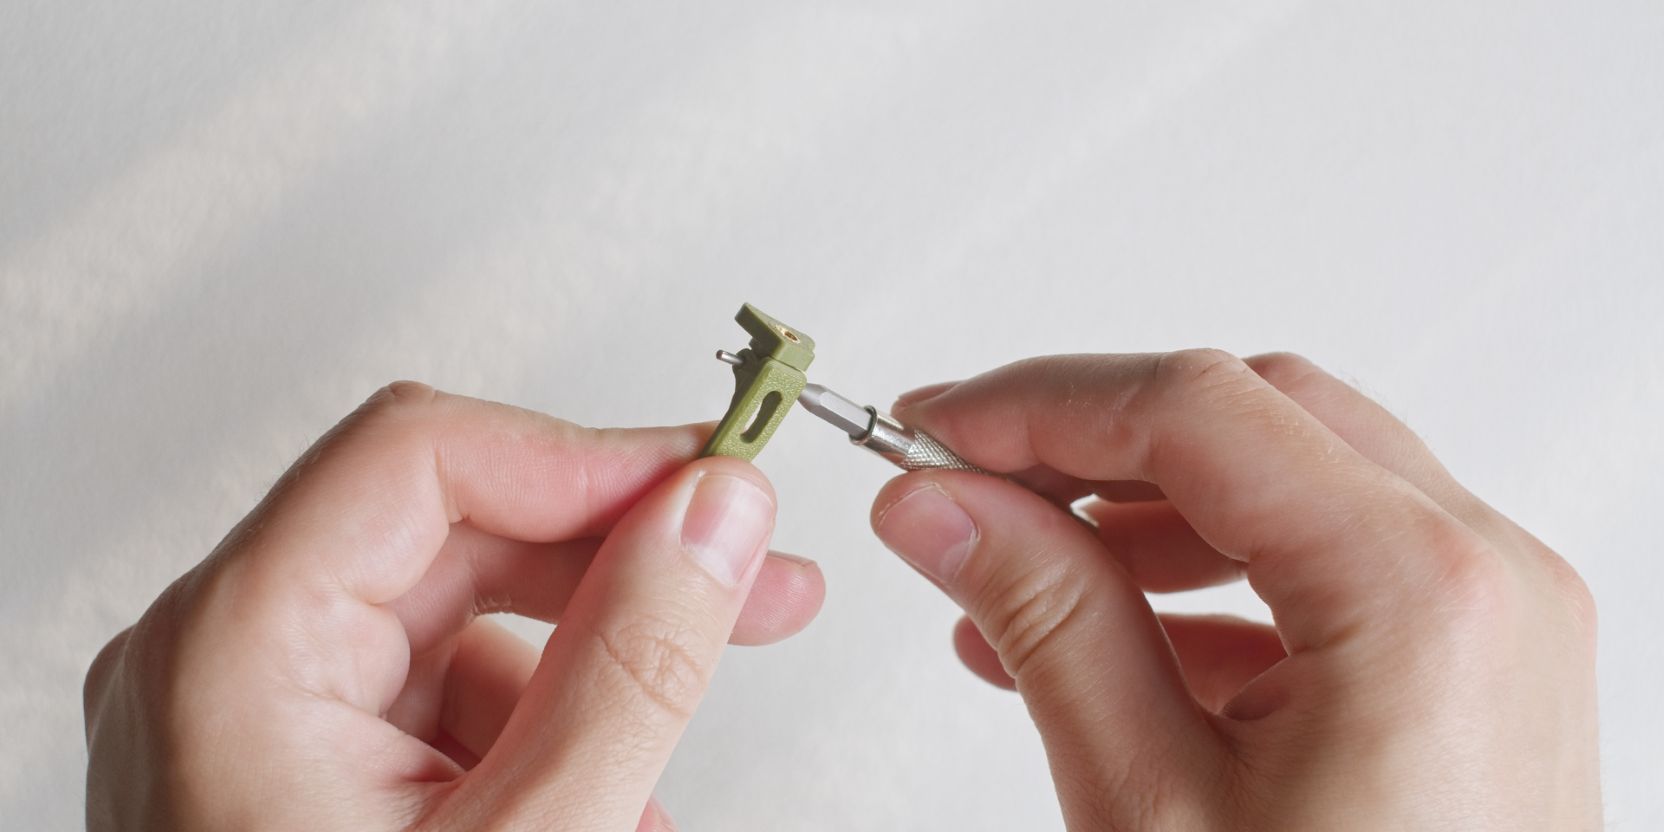
If your hinges get excessively loose over time, or if you simply want to re-use Hinge plates with different Temple arms, the dowel pins can be removed in a non-destructive manner.
Simply push the dowel pin out from either side of the barrel hinge. A small screwdriver bit works very well.

The dowel pins are tightly friction fit. Use a pair of pliers to pull the dowel pin out.
If there’s anything I’ve missed or if you have any questions please contact me and I’d be happy to help.